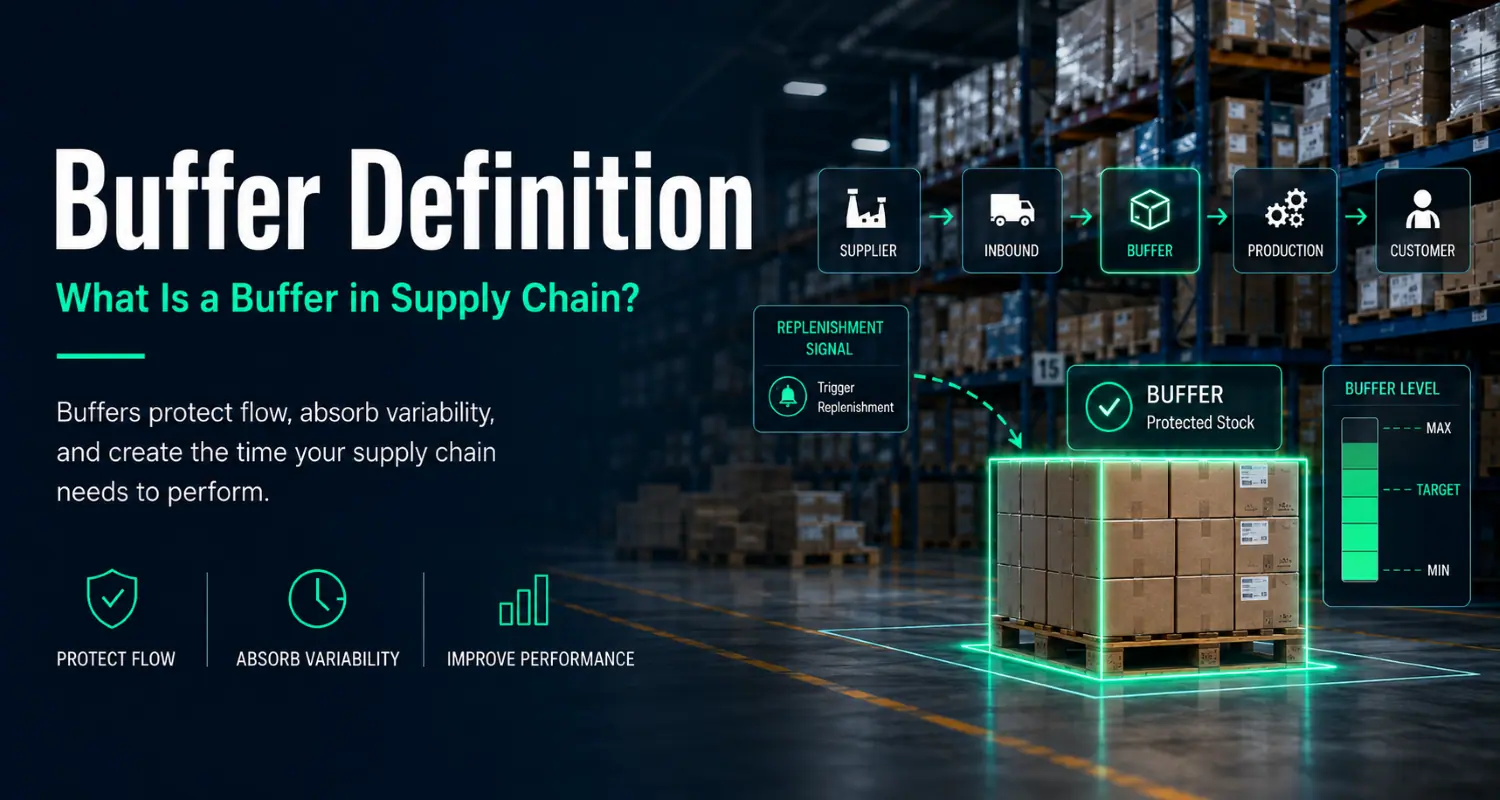
In supply chain, a buffer is a protection mechanism placed at a strategic point to absorb demand variations, supplier delays or operational uncertainty.
Its role is not simply to add stock “just in case”. A buffer is used to protect flow, meaning the smooth movement of materials, information and decisions across the supply chain.
In a Demand Driven approach, and especially in DDMRP, buffers play a central role. They help planners manage replenishment, prioritize actions and reduce the risk of stockouts.
Simple definition of a buffer
A buffer is a protection zone used to secure a flow.
In supply chain, it often takes the form of stock positioned at a key point. This stock helps absorb the gap between what was planned and what actually happens: stronger demand, a longer supplier lead time, a production delay or a change in consumption.
A buffer is therefore not just a quantity of stock. It is also a planning signal. It helps teams understand when to replenish, which priorities to handle first and which items require attention.
What is a buffer used for in supply chain?
A buffer helps prevent a local disruption from blocking the entire supply chain.
Without protection, a supplier delay or a sudden increase in demand can quickly create a stockout. With a well-positioned buffer, the company gains time to react and protects its most critical items.
The buffer also helps planners prioritize their work. Instead of treating every alert in the same way, they can focus on the items whose buffer status shows a real risk.
Buffer and safety stock: what is the difference?
A buffer is often compared to safety stock, but the two concepts are not exactly the same.
Safety stock is usually an additional quantity used to cover uncertainty. A buffer, in a DDMRP logic, goes further: it is used to manage replenishment and protect flow.
It can be adjusted according to demand, lead times, variability or item criticality. This makes it a more dynamic planning tool than fixed safety stock.
The zones of a DDMRP buffer
In DDMRP, a buffer is often represented with three zones: green, yellow and red.
The green zone indicates a controlled situation. The yellow zone represents normal consumption during the replenishment lead time. The red zone signals a higher risk and requires closer attention.
This visual approach helps planners quickly identify priorities. The closer the buffer moves toward the red zone, the more critical the item becomes.
Why buffers are important in DDMRP
Buffers are at the heart of DDMRP because they connect replenishment decisions to actual consumption.
Instead of relying only on forecasts, teams can manage priorities based on buffer status and risk level. This makes the supply chain more responsive, more visual and easier to manage.
To better understand this logic, you can read our guide on DDMRP and demand-driven planning.
How b2wise helps manage buffers
b2wise helps companies visualize, monitor and manage their buffers within a Demand Driven planning approach.
The solution helps identify at-risk items, prioritize replenishment and better protect flow. Planners can make faster decisions with better visibility over stock levels, buffer status and operational priorities.
Conclusion
A buffer is a strategic protection mechanism used to absorb variability and secure supply chain flows.
In DDMRP, it becomes an essential planning tool. It helps reduce stockouts, avoid excess inventory, prioritize replenishment and protect flow.
When used properly, buffers help supply chain teams respond more effectively to real changes in demand.


.webp)